English
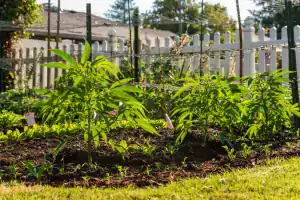
Outdoor cannabis cultivation is idyllic in many ways. You can feel the sun’s rays on your skin, the wet clay on your hands, you hear the birds singing and the gentle breeze pleasantly cools you. Such a scenario is popular with many growers, who are then proud of their outdoor creation, which they took care of for several months.
Outdoor cultivation itself has other advantages. Take how much energy you save. Sun and rain are a much ecological than artificial light and tap water. Another bonus is the growing space. You are almost unlimited outside, so you can grow really large plants that will be a gigantic crop.
If you hear about this and like the idea of such outdoor farming, the following lines will help you manage the next season.
STEP 1: Choose the perfect strain
This is the first but damn important step you need to consider carefully. It is no problem to get cannabis seeds of your favorite variety, or one that someone has recommended to you. You need to know what you really want from the plant. This can include everything from the complexity of cultivation to physical features.
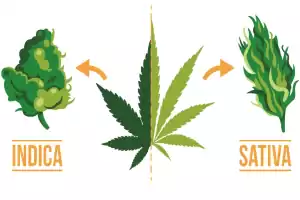
The climate itself is also important for the plants and choosing a suitable variety according to the climatic conditions is important. If you have enough space, you can choose a huge sativa. But if you have little space to grow, or want to be less conspicuous to your surroundings, a small indica or autoflower is a good choice.
Of course, decide whether you want a variety with a large amount of THC or a variety that will calm you down more and will have more therapeutic use.
STEP 2: Cannabis seeds must be germinated
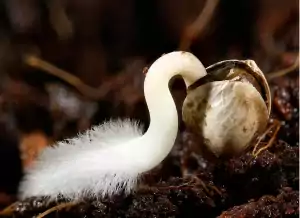
You have chosen the perfect variety. Now you need to take the next step and let the seeds germinate. There is many methods of germination. Keep in mind that whatever method of germination you choose, you must let the seeds germinate in a place where there is darkness, wetness, optimal heat and humidity.
You can find more about germinating here.
STEP 3: Choose a place
You need to find a place to plant. You may be looking for a while unless you have a safe garden or greenhouse. The place should meet certain conditions for trouble-free cultivation.
The location must be in a sunny place, but at the same time it must be protected from strong winds or storms. As you do not want the occurrence of mold, the growing area must be well aerated. Any south-facing location will always have plenty of sunshine.
People with their own land always have better conditions than those who live in a block of flats. Without a land, you can grow cannabis on the terrace or balcony. You can also choose to grow in outdoor, hidden places. It’s here, but the risk of someone destroying or stealing your crop.
STEP 4: You must have a great soil for growing cannabis
The place was found, now we have to prepare the soil and “food” for the plants. Cannabis plants can produce remarkable things, in this case crops, with proper nutrition.
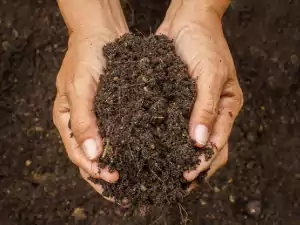
Then there is the question of whether to buy such great soil or create a homemade. Beginners will certainly welcome the fact that they already have a pre-prepared mixture that they can use. You can find good premixes in specialized shops, they should not contain pests or molds. “cheap” soil from hobby markets need to be desinficated with peroxide or in oven, but you will loose symbiotic bacterias too.
Many people prefer to create their own soil substrate, which they are sure is 100% organic and full of all the necessary things. This type is often called “Super soil” because it is really great. To create it, you need mature soil, compost and something to aerate (like perlite).
STEP 5: Move cannabis seeds and take them out
You can then plant cannabis seedlings in a flowerpot with a prepared soil mix, or directly into the soil at a pre-selected location. We recommend using the enriched soil from step 4.
If you are transplanting into pots, you can use either classic plastic or fabric. The fabric one is better thanks to the excellent water permeability and the overall air flow in the soil mix.
Seedlings of autoflowering varieties must be transplanted directly into the final flowerpot. Seedlings of photoperiodic varieties may be transplanted several times.
STEP 6: Watering and feeding
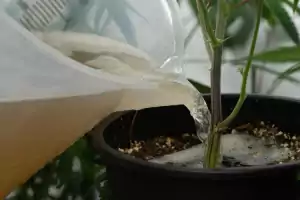
When preparing for regular watering, always make sure that the top 2 cm of soil is dry. This means that you can add water. Too frequent of water can prevent the roots from breathing and taking in nutrients. Roots of cannabis plants in soil prefers cycles of dry and wet.
It’s the same with nutrition. Always adhere to the prescribed dosage. If your soil is low in nutrients, you can use nutrition regularly. Assuming you have soil rich in minerals and nutrients (super soil), you do not need to add any additional supplements, water will suffice until a plant shown you a deficit on their leaves.
STEP 7: Protect your plants from pests / diseases and carefully follow individual leaves
Some types of insects, as well as some animals, like to feed on cannabis plant if they get to it. Check your plants regularly. Look at the individual leaves (top and bottom), flowers, stem and also the top layer of soil. In addition to pests, the plant can be attacked by certain diseases or show an excess / decrease of nutrients. However, cannabis is excellent in that it can indicate its “status” through leaves. Color changes and altered structure say a lot. Problems can also occur for reasons other than lack of nutrients or the presence of pests. Here we are talking about the pH value. The plant needs a right pH to absorb nutrients, and when the pH is low / high, complications can occur. The correct PH in the soil environment is around 6.5.
STEP 8: You can train your cannabis plants to have a better yield
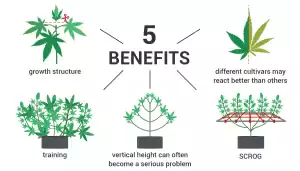
You’ve probably heard of the concept of plant training. It is not absolutely necessary, but it can keep the plant under control and provide a better harvest. The individual methods are used mainly for greater yields.
Light stress methods consist in bending and tying individual twigs downwards, to the sides, or in some given direction. Thanks to this manipulation, light reaches more places and overall growth is supported. So you can have many more or bigger buds.
Then there are the “heavy” stress techniques. In each of them, you disrupt the physical structure of the plant. Conventional trimming due to branching thus belongs to the more aggressive form of training. It has a major effect on the amount of buds. Avoid frequent cutting, because of the risk of disease or hermaphroditism.
In addition to affecting the crop, you have good control over the shape of the plant.
And now you just have to wait
The next step is just about patience and performing a routine until the harvest.
Published by Jan Veselý
28/05/2021choose and buy cannabis seeds from our offer
our pleasure

